


The art of sewing has existed for as long as human beings have been wearing clothes. It’s a 20.000 years old art. The main reason sewing is still popular today is that it doesn’t require years of experience. What it does ask is perseverance. If you’re determined to keep on trying, you can master sewing. Sure, you want to be able to have this extra talent in your crafting repertoire, but you need to go get a good sewing machine. And of course practice.
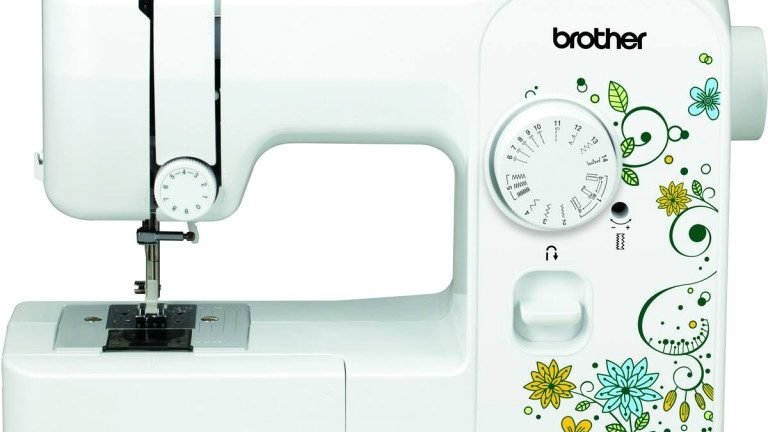
If you’re in the market for a sewing machine, then you need to check out expert reviews and ratings on sewing machines. You’ve already bought a brand new sewing machine? You can’t just wait to try it out, right? There are virtually endless possibilities to what you can do. If you want to put your sewing machine to good use, here are a few DIY projects that you can tackle. These sewing projects can be made pretty fast and they will transform your home.
DIY lampshade cover
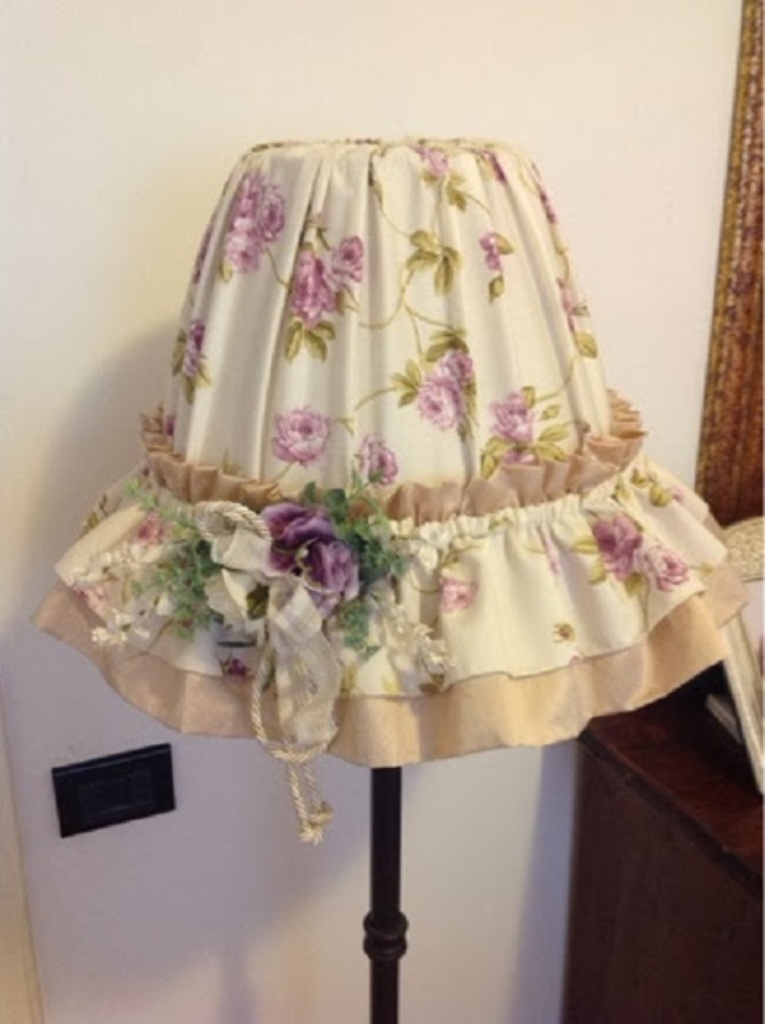
With the help of a sewing machine, you can make a neat lampshade cover. Even if you’re not the type of person who loves collecting lamps in all sizes, you’ll definitely love making your own cover. Take the frame and transform it into an accessory for all to admire. For this DIY project, you’ll need: lightweight fabric, elastic, scissors, straight pins, and measuring tape. Here’s how to get the look you want.
- Measure the height and circumference of your lampshade. In typical lampshades, you have 3 dimensions: top, bottom, and slant. Get out your ruler and determine the exact size of your lampshade. Start by measuring the top diameter. Continue with the bottom diameter, height, and the slope. Write them down and there you have it.
- Cut out the fabric and see whether it’s dirty of full of lint. This is the last thing you want. If there’s any dirt or lint, remove them carefully so as not to destroy the fabric. Use a soft brush.
- You don’t have any issues with the material, so you can place the pieces together and use the sewing machine. To make things easier, pin the ends. You now have a long strip of material. Measure and press the flap for the elastic. If the elastic is ¼ inches, make a flap for that. Sew the seam on both sides and get the elastic through the pocket you’ve just made. Lastly, fit the material onto the lampshade.
Bed pillow cases
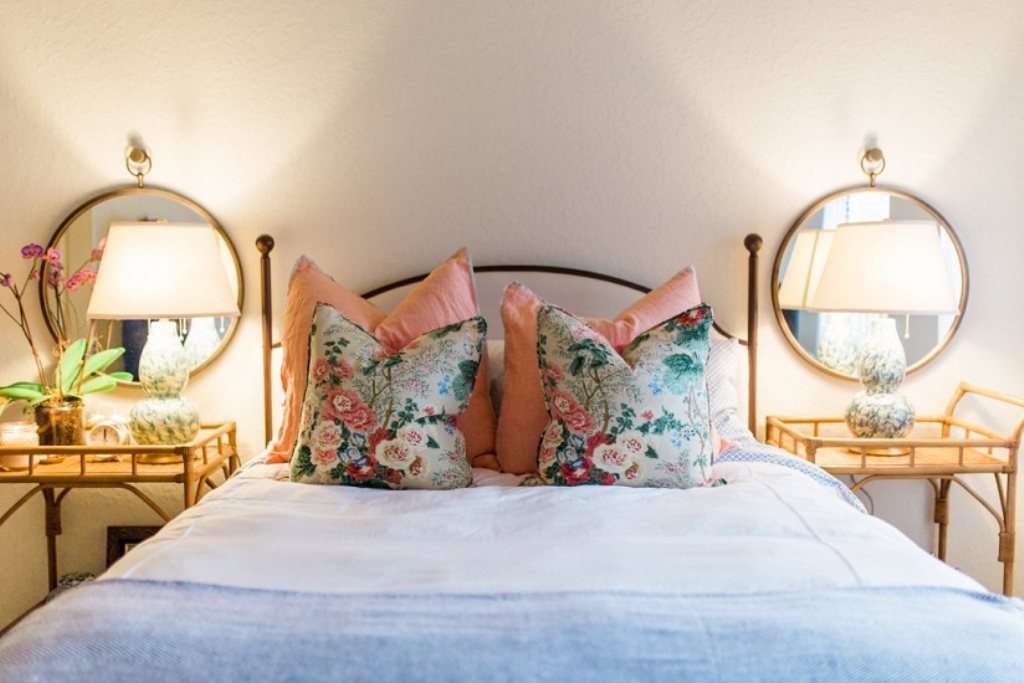
Even the cheapest bed pillow cases at places like Amazon are expensive. If you change your pillow cases daily or you simply don’t want to wait for the white sales, make your own ones. Making bed pillow cases is simple. In fact, it’s child’s play for someone with basic sewing skills. Making basic bed pillow cases is simple and quick. All you have to do is follow these steps.
1. Choose the fabric. Bed pillow cases are generally made from fabric that is soft to the touch. Examples include:
- Flannel. Flannel has an amazing ability to hold in heat and insulate. No matter the fiber used, flannel has the delicacy that you like.
- Satin. Satin is at the same time smooth and gratifying to the senses. So, it makes an exclusive pillow case material.
- Jersey knit fabric. Unlike woven fabric, knit fabric has the stretch factor. Jersey provides the softness of the clouds. You can be sure of that.
- Soft cotton. Cotton is great to sleep on, not to mention that it’s gentle on your skin.
Whichever material you pick is fine, as long as it matches the bedroom’s color scheme.
2.Make a pattern. Use a bed pillow case that you have lying around the house. Measures its rectangle. This way, you’ll know how big yours is supposed to be. The pillow case should be 22 inches by 32 inches. This is the standard size. If you pillow case isn’t this size, then you just have to create your own pattern. How do you do that? You measure the width of the bed pillow, multiply by 2, and add 2.5 inches. Next, measure the lengths and add 10 inches.
3.Start sewing. The first thing you need to do is sew the seams. Fold the fabric in half and using your sewing machine, stitch up the long side of the fabric. Make sure that your seam is perfectly straight. To make sure that you have matching edges, it’s a good idea to pin the longest edge at one end. The next thing you need to do is hem the bed pillow case. Fold the fabric to create a ½ fold and iron it (if you don’t have a pressing tool). Fold the fabric again so that the raw edge will be fastened and start stitching. Finally, you can use embroidery.
Seat pad cover
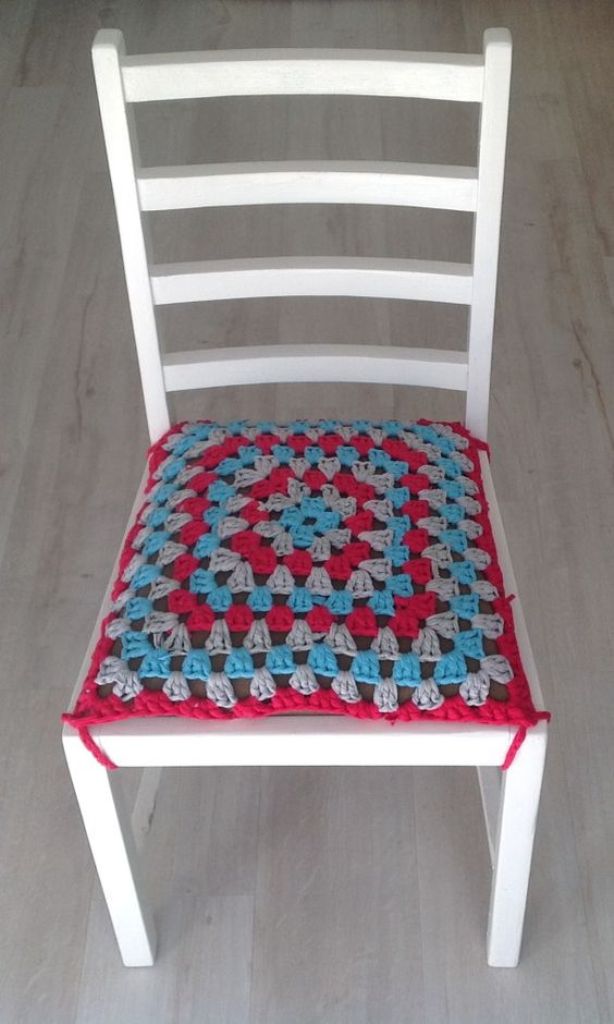
Seat pad covers are, apart from clothes, one of the easiest things to make by yourself. You can make your own seat pad covers in no time if you have a good sewing machine. To give furniture pieces a new look, you’ll need to get: fabric and quarters, seat pad insert, sew-on loop and hook, sewing machine.
How to make
Cut rectangles in your main fabric. Stitch around the 2 long edges and 1 short edge, taking only 0.59 inch seam. Trim the corners and press open inlays. Trim about 16.9 centimeters length of the hook and loop. Stitch them both with the sewing machine. Last but not least, place the material over the seat pad, insert the loop fastener and secure with the hook fastener.