


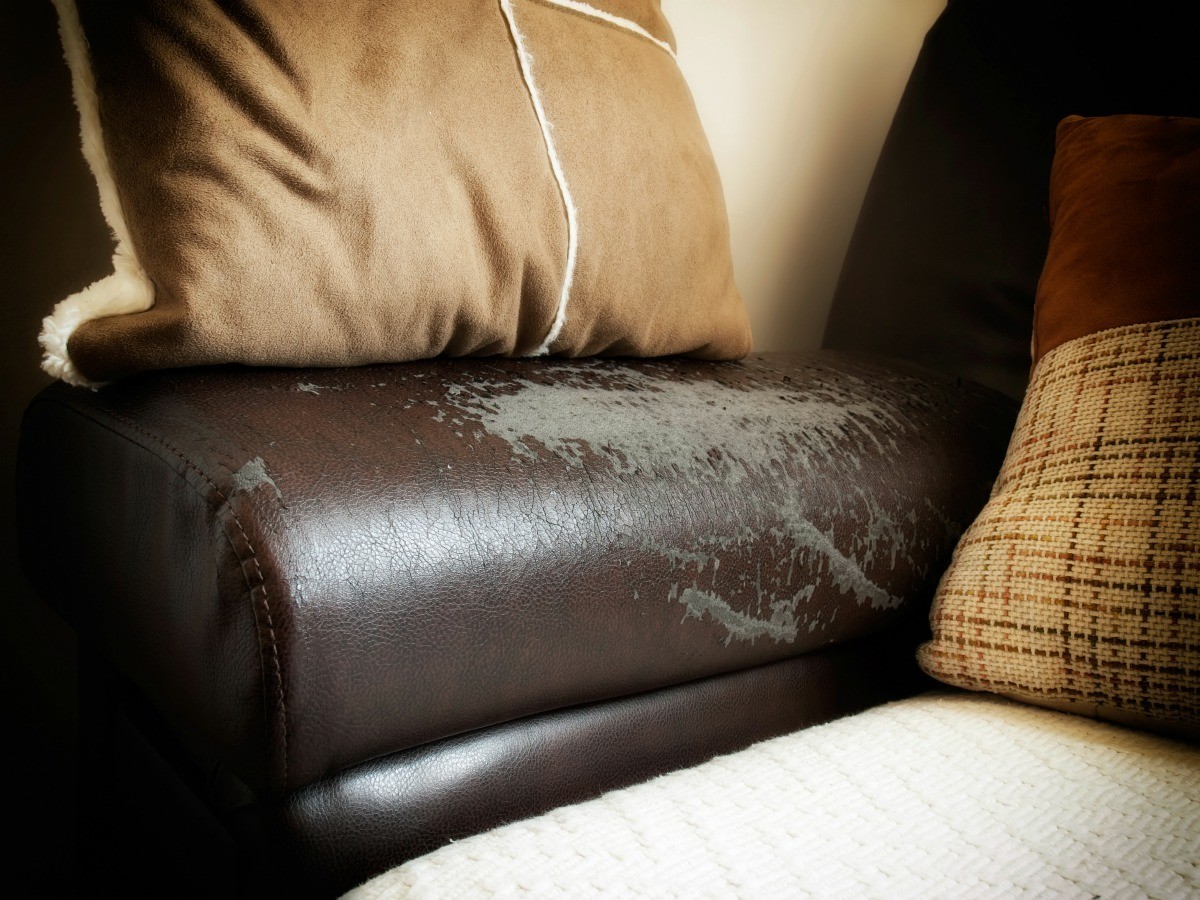
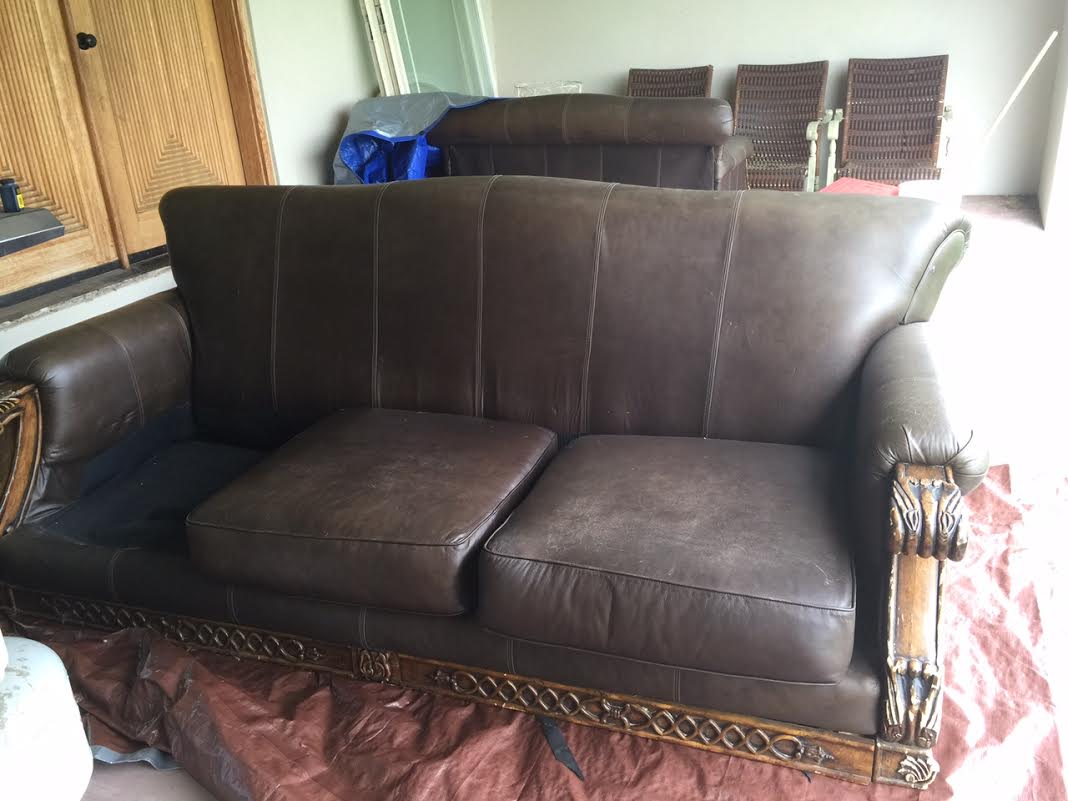
We love the look of leather furniture for its versatility, classic aesthetic, and durability. However, after a few years of wear and tear, it can begin to lose its luster. But to try and maintain your sofas dignity, it’s definitely worth researching how to soften and condition leather. But worse than just a bit of wear, sometimes it can begin to crack and tear. A new piece of leather furniture is expensive, with leather sofas running upwards of $1800.
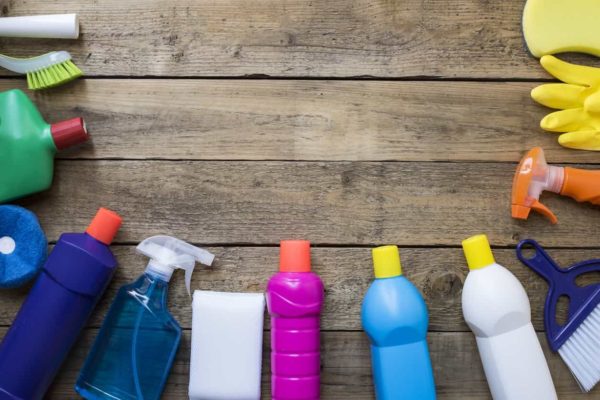
Fortunately, restoring your leather furniture is a fairly easy DIY task, as long as you have the right tools. The right tools usually consist of a leather cleaner, leather conditioner, a leather and vinyl repair kit (consisting of heat tools, leather dye, and grain paper), and a lint-free or microfiber cloth.
With a little tact, patience, and these tools, you can breathe life back into your leather furniture by following these steps.
Determine the kind & color
All leathers are not made the same. There are aniline, protected/top-coated, and Nubuck leathers, each with their own processes and problems. Aniline leathers are more susceptible to fading and oil stains, while top-coated leather may be more likely to suffer from splits and scratches.
If you will be re-dyeing the leather, it’s important to get the right color, as well. Most leather dye manufacturers have color charts and a wide selection you can rely on, but you may want to contact the furniture manufacturer to find out the exact color first.
Prep the surface
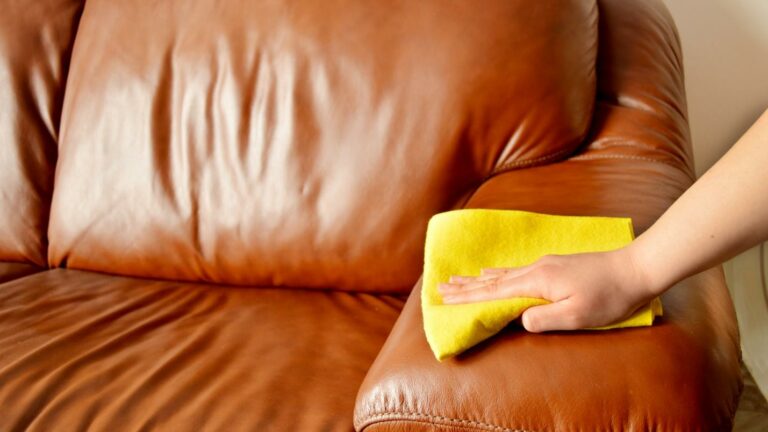
To start, clean the surface of the leather using leather cleaner, or a mix of warm water, castille soap, and vinegar. Place the solution in a spray bottle, and spray the area you’re looking to repair. Wipe it off with the cloth.
Once this is done, you may already notice some of the scratches fading. Finish off the process by conditioning the leather. Special oil-based leather conditioners are sold for this. Just apply a thin layer and spread it across the leather with your cloth.
Once the leather conditioner is evenly spread, you can even use your hands to really work it in. Using circular motions, rub the conditioner into the leather until further absorption is no longer possible. Let the conditioner sit for a couple of hours before moving on to the next step. If the leather is significantly scratched or scuffed, it may need to sit longer.
Patching up cracks
Leather adhesive or leather filler can be used to fill in cracks and tears. If the hole is significantly big, a sub-patch may be needed before leveling in the hole. Burns can be addressed similarly, but the burned and frayed edges of the tear should be cut off first.
Proper prevention is important in preventing further cracks. Leather protection cream, which is usually water-based, should be regularly applied to prevent frequent cracking.
Removing scrapes and scuffs
While most scratches may come off when you apply the leather conditioner, there are ways to tackle the more stubborn ones. For aniline leather, you can use a hair dryer to apply heat to the area while rubbing it. This will blend the color over the scratch.
Leather protectants and fillers also work for less dramatic scratches. Meanwhile, deeper scrapes may require a leather base coat to smooth and even out the surface before tackling it with the aforementioned methods.
Make sure to use a Nubuck cloth when applying these procedures to Nubuck leather, as it may not react to the same tools used for aniline leather.
Dyeing the actual leather
Once you’ve massaged out all the kinks, it’s time to finish off the process with the actual dyeing process. For top-coated leather, the dye should be applied in very thin coats, as thick caking of the dye can alter the color and create inconsistency in the patches you’re trying to re-dye.
It may take between 2-4 light coats of dye for top-coated leather, with a couple hours’ worth of drying time between each coat. Leather top coats are available for extending the longevity of the dye job.
For aniline leather, make sure to purchase specific aniline leather dye. Aniline leather dye absorbs and mixes much more with the current color of the furniture than top-coated leather. Therefore, don’t expect extreme color changes. You may even buy a shade darker if you’re looking to significantly restore the look of your aniline leather.
Apply the leather dye using a cloth, and allow drying between coats. Nubuck leather works much in the same way as aniline leather, but will require a Nubuck cloth, sponge, or brush for application.
This may sound like a time-consuming process, and it is. Which is why the best way to care for your leather is to actually protect it. This will lessen the time between restorations, and reduce the amount of fading, cracking, and scratching. With a little extra TLC, your leather furniture could last you decades.