


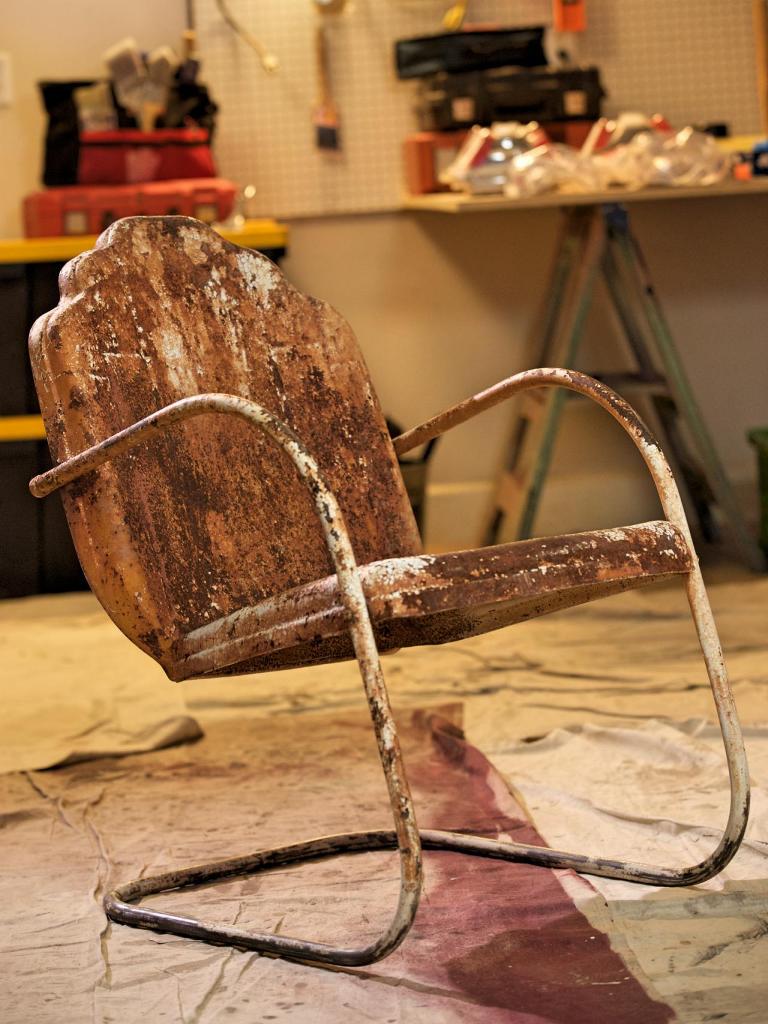
Everyone owns that timeless piece of furniture that is the added extra that makes their outdoor décor pop. Before now I have always turned my nose up and solely used sites like Payday Deals bargains online to find the best furniture for my home and garden. However, there is a real trend being made at the minute, and that is upcycling old furniture. When I saw some of the outcomes of these DIY challenges, I knew I had to give it a go myself. Perhaps it’s an antique chair that was passed down through generations, and now sits on your patio for friends to enjoy, or that accent chair you purchased at a yard sale last year. Whatever furniture it is for you, one of the hardest things when it comes to furniture, especially outdoor furniture is to keep it looking fresh and new.
Just because one of your favorite pieces is wrought with rust and grime, doesn’t mean it’s time to say goodbye just yet. Learn to restore rusty old furniture, making it look brand new, and giving your patio, living room, kitchen or any room in your home that extra flair that it needs.
1. Remove the rust
No matter what kind of material you are working with, whether it’s cast iron, wicker, wood pieces, or metal, it’s important to start with a fresh slate. Think of this like trying to paint on a dirty canvas. Any material you apply to a dirty canvas eventually will degrade itself over time. You don’t want this to happen to your outdoor furniture. Using something as simple as a handheld sander is recommended. Be careful when using an electric sander on old furniture, this often can cause damage to the interior of your furniture, and you don’t want to cause any trouble to the actual material, because this is much harder to restore.
Make sure when you are sanding you take safety precautions and wear a mask or other protective wear, as rust can not only stain clothes, it can sometimes be toxic to ingest. Also, if you have a basement or a warehouse to work, this job can get messy, so prepare accordingly. Do not do this in any part of your home you want to keep clean and tidy.
2. Clean the furniture
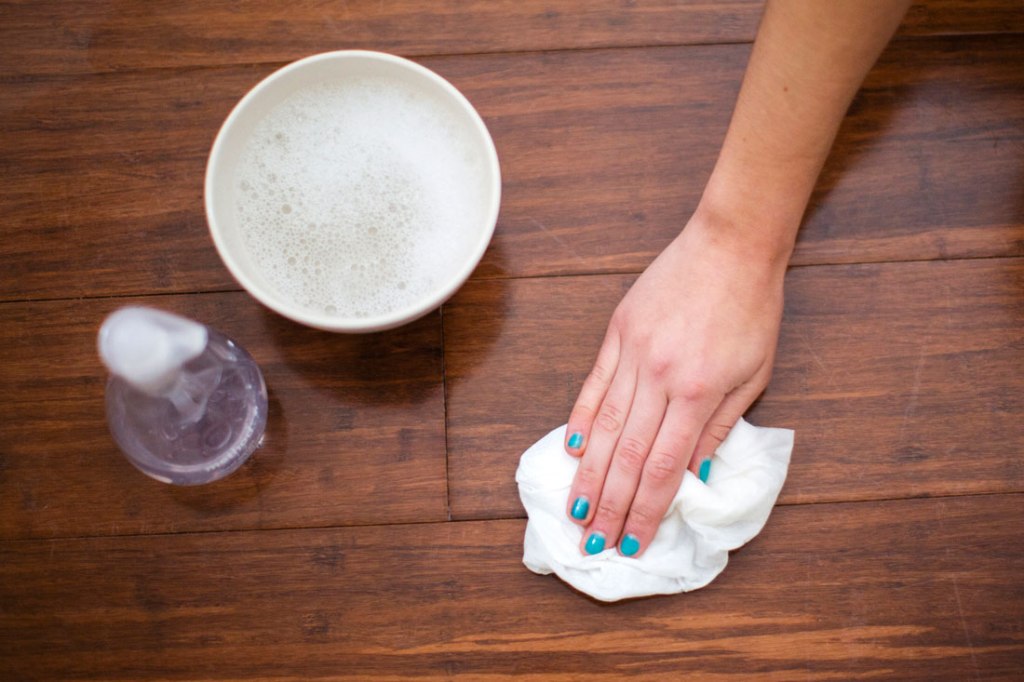
Once you have sanded your product make sure you clean the actual piece of furniture as well. This is an essential step in refinishing rusty patio furniture. The next steps will not work if you do not have a clean slate to work from. Warm water should suffice to clean the furniture. Make sure you are not using any harmful soaps as these could end up causing long-term damage to the interior of your furniture and may affect the way paints and primer adhere to the product in the future.
3.Look for a rust-resistant primer at a hardware store
It is so necessary for the maintenance of your product to apply a rust-resistant primer to your furniture. This will provide as a protective barrier from rain, snow, wind and any other harmful weather that could damage the chair. This is best applied in a spray to get the evenest coat and best-looking shine, but sometimes also can be applied like paint. As always, the chemicals used in these products can be toxic to breathe in, so make sure you are taking protective measures.
For outdoor furniture that is wicker versus iron or even plastic, the amount of spray that you apply will depend on how it adheres to the material. For cast iron, for example, you may need to apply a thicker coat than to something like wicker, because of the way the spray will adhere to the actual material. Regardless with any spray, make sure you are keeping the bottle about a foot away from the actual furniture, if not you will end up with large clumps that are difficult to smooth out.
4. Paint or stain or leave your furniture with a rustic look

Whether you prefer modern, antique, or rustic, the final and most fun step in refinishing your rusty patio furniture is making it your own. Now that the furniture is essentially refinished, stain it with the color of your choice for an old and classic look, or sand down the primer to give it a shabby chic look. If you need to spice up a room or a patio, apply a bright color for a splash of wow.
Whichever style you choose, you can take pride in this piece of refinished beauty and spread the DIY knowledge to your friends and family. There is no need to spend, money, time or invested energy looking for new furniture when you can do it yourself. Renovating old furniture like this means you can have furniture that looks like the luxury furniture in Miami. However, if you are not the sort of person that likes getting your hands dirty, then perhaps it’s best to just buy the furniture how you want it. If you do fancy some DIY then follow our tips to save your money, time, and get a final product you’re proud of. Try these simple at-home DIY projects on a piece of furniture you’ve been waiting to restore, refurbish, and display.